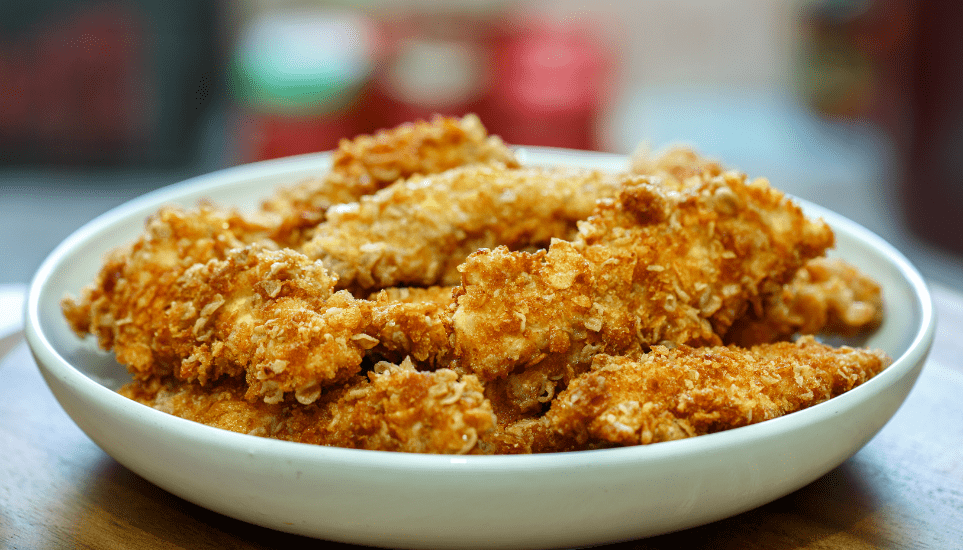
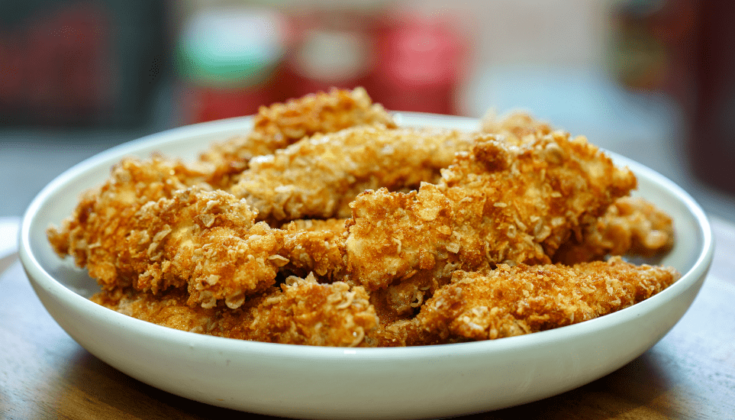
Chicken strips are the perfect crunch that is oven baked paired with a gourmet dip, and are comfort food at its finest.
What Makes Chicken Strips So Irresistible?
Chicken strips are known for their golden, crispy coating that contrasts beautifully with the tender, juicy chicken inside. The key to achieving this magic lies in the breading technique, the right seasonings, and the perfect cooking method. The result is a satisfying bite that hits all the right notes of flavor and texture.

Tips and Tricks for Perfect Chicken Strips
- Use Panko Breadcrumbs: For an extra-crispy coating, opt for Panko over regular breadcrumbs.
- Double Dredging: If you like your strips super crunchy, double dredge by repeating the flour and egg steps.
- Oil Temperature: Maintain the oil at 350°F. If it gets too hot, the coating will burn before the chicken cooks. Use a kitchen thermometer to monitor.
- Rest Before Frying: Let the breaded chicken strips rest for 10 minutes before frying. This helps the coating adhere better.
- Don’t Overcrowd the Pan: Fry in small batches to keep the oil temperature steady and ensure even cooking.
Variations to Try
- Spicy Chicken Strips: Add cayenne pepper or hot sauce to the egg mixture for a kick.
- Baked Chicken Strips: For a healthier version, bake at 400°F (200°C) for 20-25 minutes, turning halfway.
- Air-Fried Chicken Strips: Use an air fryer for a crispy texture with less oil. Cook at 375°F (190°C) for about 12-15 minutes.
- Gluten-Free Chicken Strips: Use gluten-free flour and breadcrumbs for a celiac-friendly option.
How to Serve Chicken Strips
Chicken strips are versatile and pair well with a variety of dips and sides. Here are some serving ideas:
- Dipping Sauces: Ranch, honey mustard, barbecue sauce, sriracha mayo, or garlic aioli.
- Side Dishes: French fries, coleslaw, mashed potatoes, or a fresh green salad.
- Main Course Ideas: Serve atop a Caesar salad, wrap them in a tortilla with veggies for a quick wrap, or layer them in a sandwich with lettuce and tomato.

How to Store and Reheat Chicken Strips
- Storing: Place leftover chicken strips in an airtight container in the fridge for up to 3 days.
- Reheating: To maintain crispiness, reheat in an oven or air fryer at 375°F (190°C) for 5-10 minutes. Avoid microwaving, as it can make the coating soggy.
- Freezing: Freeze cooked chicken strips on a baking sheet until solid, then transfer to a freezer-safe bag. Reheat from frozen at 400°F (200°C) for 20 minutes.
Recipe FAQs
Can I make chicken strips ahead of time?
Yes, you can bread the chicken strips ahead and refrigerate them for up to 24 hours. Fry them just before serving for the best texture.
Why are my chicken strips soggy?
If the oil temperature is too low or if you overcrowd the pan, the chicken strips can absorb too much oil and become soggy. Make sure to fry in batches and maintain the right temperature.
Can I use chicken thighs instead of breasts?
Absolutely! Chicken thighs are juicier and more flavorful. Just adjust the cooking time as needed.
What can I use instead of eggs for breading?
For an egg-free option, use buttermilk or a mixture of water and cornstarch as a binding agent.
Chicken Strips (Oven Baked)

Chicken strips are the perfect crunch that is oven baked paired with a gourmet dip, and are comfort food at its finest.
Ingredients
Chicken:
- 500 g/1 lb chicken tenderloins (or chicken breast sliced into 2/3” strips)
Breadcrumb Coating:
- 1 ½ cups panko breadcrumbs
- Oil spray
Batter:
- 1 ½ tbsp Dijon mustard (or any mustard you love)
- 1 egg
- 1 tbsp mayonnaise
- ½ tsp salt
- Black pepper, to taste
- 2 tbsp flour
Instructions
- Prep Your Oven: Preheat to 200°C/390°F.
- Toast the Breadcrumbs: Spread panko on a baking tray, lightly spray with oil, and bake for 3-5 minutes until lightly golden. Transfer to a bowl.
- Set Up Your Baking Tray: Place a wire rack on a baking tray. It’s optional but helps the chicken bake more evenly.
- Make the Batter: In a bowl, whisk together the mustard, egg, mayonnaise, salt, pepper, and flour until smooth.
- Coat the Chicken: Add the chicken strips to the batter and toss to coat evenly.
- Bread the Chicken: Using tongs, lift each piece of chicken and place it in the panko bowl. Sprinkle breadcrumbs over the top and press down to ensure they stick. Transfer to the prepared baking tray.
- Bake to Perfection: Lightly spray the breaded chicken with oil and sprinkle with a pinch of salt if desired.
- Bake for 15 minutes, or up to 20 if the strips are extra thick. Be careful not to overbake, as that will dry out the chicken.
- Serve: Enjoy immediately with your favorite dipping sauce (honey mustard, anyone?) and a sprinkle of fresh parsley, if you’re feeling fancy.
Nutrition Information
Yield
4Serving Size
1Amount Per Serving Calories 439Total Fat 14gSaturated Fat 3gTrans Fat 0gUnsaturated Fat 10gCholesterol 144mgSodium 863mgCarbohydrates 33gFiber 2gSugar 3gProtein 43g
All Chicken Recipes.com, occasionally offers nutritional information for recipes contained on this site. This information is provided as a courtesy and is an estimate only. This information comes from online calculators. Although allchickenrecipes.com attempts to provide accurate nutritional information, these figures are only estimates.
Final Thoughts
Chicken strips are a timeless favorite, and making them at home ensures you get that perfect balance of crunch and juiciness. With the right technique and a few handy tips, you’ll be on your way to mastering this beloved dish. So, grab your ingredients and treat yourself to the ultimate chicken strip experience—you deserve it!
Still Hungry! Try these other chicken recipes:
